How to Plaster a Wall in 8 Easy Steps
What is plastering?
Plastering is a specialist job most people prefer to leave to the experts. But if you feel you are handy with practical DIY jobs and you know how to work in a slow, methodical and neat fashion, this step-by-step guide on how to plaster a wall eases you through the job. Hopefully, the finished result will look as if a professional completed it.
First of all, you need to get the right tools and materials for the job. Below is a plasterer tools list to do an excellent job:
Shopping list
- Dust sheets
- Dust masks
- Cutting knife
- Plastering trowel
- Plastering hawk or float
- Plastering brush
- Deviling float
- PVA glue
- Emulsion roller and tray
- Board finish plaster
- Two buckets (one for plaster and one for water)
- Stirring rod or mixer
- Cloth or rags
Types of plaster
The type of plaster you use will depend on the project you are working on. Whether you buy ready-mixed plaster or decide to mix it yourself, below are the differences between each type.
1. Tough coat plaster
A hard undercoat plaster which protects against fire contains strong impact resistance and is mostly used for masonry walls and backgrounds. Generally, tough coat plaster can take on all kinds of conditions including frozen walls.
2. Browning plaster
Mainly used as a base for paint. Browning plaster is similar to bonding plaster but has the added advantage of being more useful with absorbent surfaces. Usually, browning plaster takes at least one day to dry and is applied at 8mm for ceilings and 11mm for walls.
3. One coat plaster
Considered a finish and an undercoat. Because of this, one-coat plaster is easy to use and has a thicker consistency with the use of gypsum material. Using one-coat plaster can save time and is even adaptable for smaller areas.
4. Bonding plaster
Because of its versatility, bonding plaster is an undercoat and a popular choice for building with its sticking properties. Bonding plaster is generally applied at 11mm for walls and 8mm for ceilings - the same as browning plaster. It can be used on all surfaces and is effective for all absorption levels.
5. Dri-coat plaster
Primarily used after a damp-proof course (DPC) for replastering. It is particularly effective for preventing hygroscopic salts movements which can lead to damp walls when the salts absorb climatic moisture. Although dri-coat plaster can protect walls, it is not a suitable option for frozen backgrounds and it is advised to keep the plaster away from extreme temperatures.
6. Thistle plaster
Used once the plastering process is completed as a finish coat. It is convenient and versatile to apply - this plaster is a popular choice for smaller repair jobs and learning how to skim plasterboard. Thistle plaster also provides excellent quality with a smooth finish after every job.
7. Hardwall plaster
A go-to undercoat plaster choice for masonry backgrounds such as medium-density blocks and bricks. Like other undercoats, hardwall plaster is easy to work with and can create a textured plaster wall finish. But you should be careful on tough surfaces such as crumbling walls, as this will likely cause the plaster to crack.
8. Carlite plaster
Used on top of a background, carlite plaster is a versatile choice which can be used on various surface types. In comparison to thistle plaster, carlite will take an estimated three hours to set, while thistle sets in half the time. Carlite is strong, durable and scratch-resistant.
Need Supplies For Your Next Project?
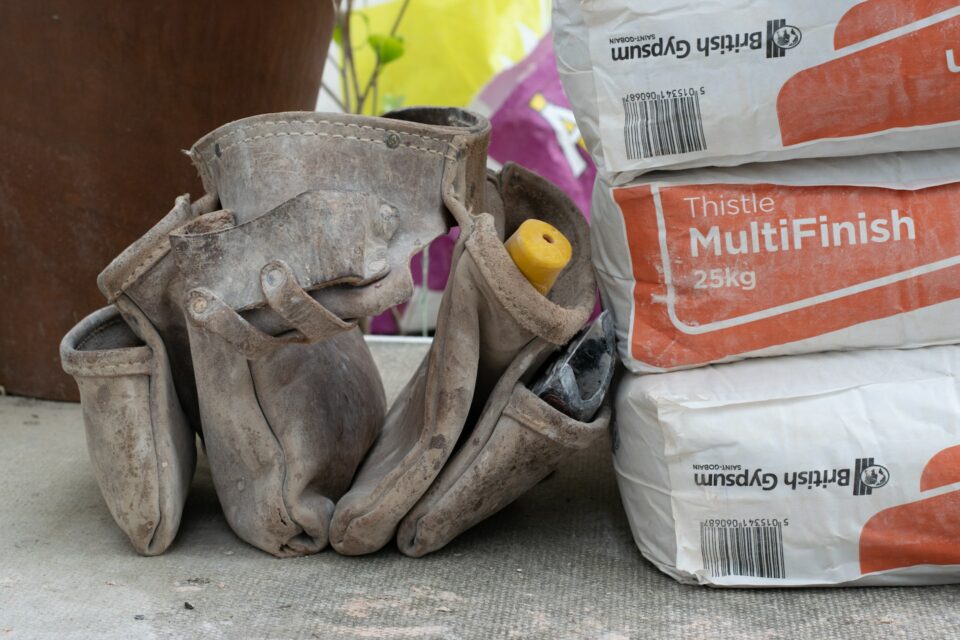
- British Gypsum Thistle Multi Finish Plaster - 25kg (028/028/005)
2 - 3 WORKING DAY DELIVERY
- 25kg
- Provides a smooth, flat and high quality finish
-
- Thistle Carlite Bonding Coat Plaster 25kg (028/028/001)
2 - 3 WORKING DAY DELIVERY
- 25kg
- Easy to handle
Plastering a wall
Step 1 - Preparation
Before you start working on your walls, lay down a dust sheet to protect your floors and collect any later debris or plaster spillage. Then you need to make sure the area you want to plaster is free from dust and loose debris. This is especially important if you are plastering an older existing wall. You also need to cover any holes and cracks you may find - use screen tape for this. If you are plastering over newly erected plasterboards, use screen tape to mask all the joints between the boards.
Step 2 - Apply PVA to walls
Using PVA for plastering and bonding creates the best result and ensures that the layer of plaster you are applying will dry evenly. Dilute the PVA in a 1:4 ratio – one part PVA and four parts water. Roll or brush the PVA mixture onto the wall and make sure the entire wall is covered. The first layer of plaster can be applied straight afterwards as long as the PVA glue has become a bit sticky. For the best result, always follow the instructions given by the manufacturer of the glue.
Step 3 - Mix plaster
When you start to mix the wall plaster, make sure to wear a dust mask before you open up the bags. Mix the plaster into cold water (the composition of both should be 50/50), and whisk briskly until it has a thick and creamy consistency. If you have not got a mechanical mixer, a piece of wood will also do the trick. Once you have finished, be sure to check there are no lumps. Always mix the plaster into the water and not the other way around. It is also important to wash your mixing equipment straight after use - leaving plaster on tools and materials for too long can make it extremely difficult to remove at a later date.

Step 4 - Apply plaster
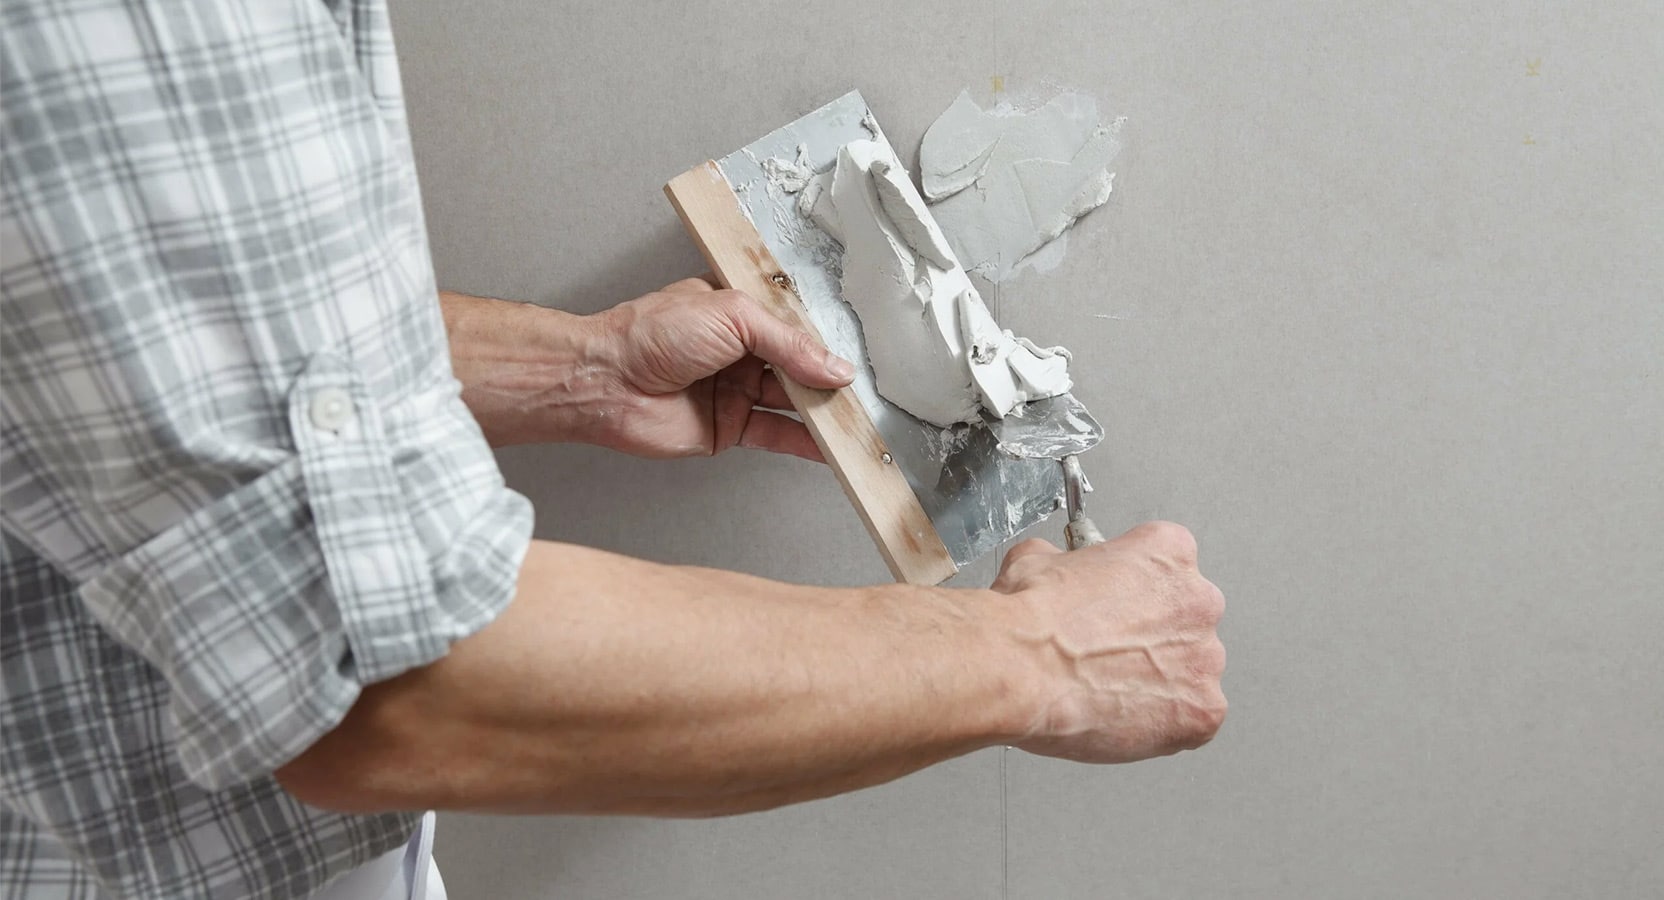
Now you are ready to apply your first coat of plaster using the hawk board, the trowel (used as a spatula for plastering) and the float. You may want to practice the movement on a separate plasterboard before you start the actual job, just to make sure you have the technique right.
First, place plaster on the hawk board using the trowel. You then use the float to push the plaster from the hawk onto the walls. Do this with the float close to the wall, spreading the plaster firmly upwards and flattening the float at the end of each sweep.
You should work from the bottom left-hand corner and upwards, filling a section from bottom to top before you move on to the next section. Use small amounts of plaster each time in combination with lots of pressure on the float, as this is the best way to ensure a smooth look and avoids excess plaster falling off the wall. Repeat until the entire wall is covered.
Step 5 - Skimming and smoothing
After the first coat of plaster has been applied, wait approximately 20 minutes to let the plaster dry slightly. You can then get rid of lumps and bumps by skimming and smoothing over with the trowel. Also, you will need to smooth out all the corners and ends such as the bottom and top of the wall - these areas are usually difficult to plaster. Be sure to use a wet brush to even the edges out.
Step 6 - Scrape
Although this is an optional step, some people prefer to scrape the surface before adding a second coat. This is done for the second coat to adhere properly. The easiest way to do this is by using a tool called a devilling float, which is specially designed for the task - it is a wooden float with nails in it. You can also scratch the surface using an old kitchen fork. If you prefer not to use this step, make sure the first coat on the wall is still wet before applying the second layer of plaster.
Step 7 - Add another coat of plaster
After devilling or scratching the first level of plaster, you can apply a second and final coat. This should be of a thinner consistency than the first coat, so make sure to dilute the plaster mixture with some more water. Aim to only plaster a thin 2mm layer, then leave the plaster to dry slightly.
Step 8 - Finishing touches
After the plaster has dried slightly you need to polish up your work. You do this by adding water to the surface using a spray gun. Spray the edges of the plaster and run the trowel over it to smoothen out the surface. Use inward strokes when doing this.
You can also use a wet brush for the job, especially around the tricky edges. Finish by running a clean float over the entire surface to flatten out any lumps and bumps. Once the plaster has dried out completely, you can use some sanding paper to remove any excess plaster you may find.

How long does it take for the plaster to dry?
Generally, a newly plastered wall can take anywhere from one to two weeks to completely dry. In some cases, it can take longer. But the following are things you should consider when waiting for the plaster to dry:
- The plaster material used.
- How many layers of plaster have been applied.
- The temperature and weather when plastering.
- Whether plaster has been used on backing plasterboard.
- The room's humidity.
- The thickness of every layer of plaster.
As a rough guide, you can expect small repairs and patches of plaster to dry within one week; entire plasterboard walls in two weeks; and several plaster layers on a wall within two to three weeks. But if you are plastering during cold and wet conditions, the drying time can take longer. To recognise dry plaster, you should see a creamy pink or pale tone. If you see shades of red or brown, this means the plaster is still wet.
Painting over plaster
One key question likely to come up during your project is can you paint over plaster? The short answer is yes. But, once the walls are dry and you start decorating, it is important to learn how to paint plastered walls properly. If you paint over plaster that has not fully dried, this can cause problems such as cracking paint, peeling and dark patches.
Before you pick up the paintbrush, we recommend you apply a mist coat to your plastered walls. This is beneficial for smoothing walls for painting because it prevents any moisture from being absorbed from the paint. If you decide not to use a mist coat, you can expect the paint to dry too quickly and this can result in cracking and an uneven surface.
The mist coat stops the paint and plaster from bonding and you only need to apply one layer before painting. It is recommended you wait 24 hours for the mist coat to sit well on top of the plaster.
Plaster materials from Building Materials Nationwide
At Building Materials Nationwide, we pride ourselves on being a unique one-stop shop for building tools and materials available to everyone across the UK. We are passionate about making the shopping experience for building supplies as seamless as possible, and we stock a wide range of products from bags of plaster to plastering tools.
If you work in the industry, be sure to get in contact and sign up for a trade account with us today, either through our website or contact us. Once you are signed up, you will gain access to your personal account manager, our brilliant product range, and our speedy delivery options. You will also be able to apply for interest-free credit, subject to a credit check. You can also send us a message using the contact form below.


