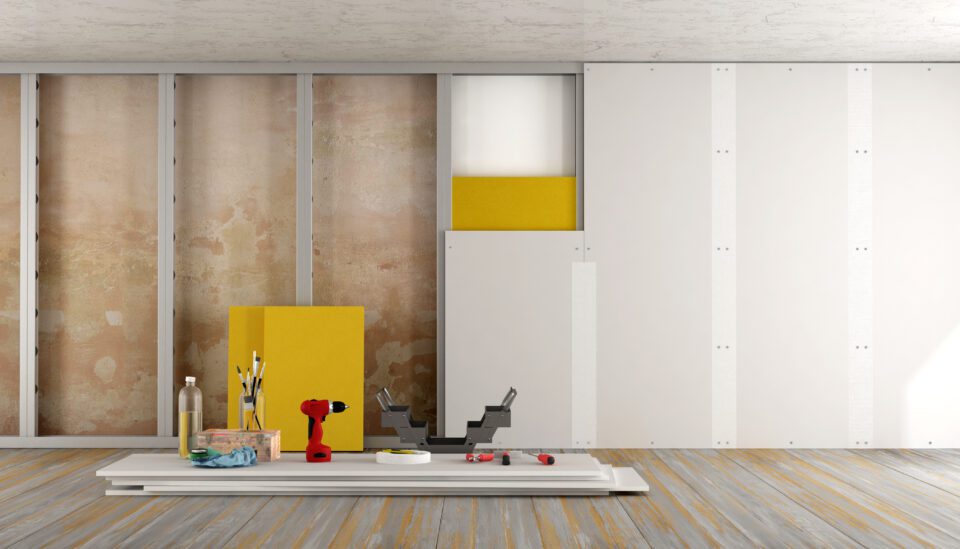
Dry Lining Tools and Equipment: What You Need
Before embarking on any dry-lining project, good preparation is always the key. This means ensuring you have all the tools and materials to complete the job successfully with minimum fuss.
The range of materials involved in dry lining is vast, but fortunately, the tools you’ll need to complete a dry lining project are relatively simple. Most tools you will already have in your toolbox, but some are designed specifically to work with plasterboard or metal framework.
General Tools
These tools you should have anyway because they will be required in all construction projects whether it’s commercial or DIY.
Tape measure:
A tape measure is essential because you will be measuring and cutting various materials throughout your project. Even if you have a laser measuring device to measure surface areas, you will still need a handy tape measure for making cuts throughout the installation process.
Pencil:
A pencil is a key tool for any carpenter or dry liner. This goes hand in hand with your tape measure, and you will be frequently marking lines on boards, tiles and timber to make your cuts.
Utility knife:
A sharp utility knife is useful for multiple jobs and is often used for cutting both plasterboard and ceiling tiles. Plasterboard is a versatile material, so it does not require much effort to work with or shape. A good quality utility knife will help you to easily cut precise shapes or to tackle board edges more easily.
Saw:
There will be many situations when a utility knife is not strong or accurate enough. For this reason, a good-quality saw should be an essential part of your kit. A jab saw is also a handy tool which can be used for stabbing through a board to make a hole for light sockets, plugs and other obstructions.

Hammer:
A hammer is usually the first thing added to any tool kit and is useful for a wide range of purposes.
Spirit Level:
Having everything exactly level is essential in any type of construction, especially dry lining. Whether it’s a ceiling or a wall, you will need a spirit level to ensure your fixings and frame are perfectly level. You can use other types of levels such as a ‘water level kit’, which has a large pipe filled with water that can extend across much bigger areas.
Drill/ Screw gun:
A good quality drill is the number one essential tool for all dry liners. Often, you can switch drill bits and use the drill as a screw gun as well, saving time on all the screwing involved with fixing frames and boards into place.
Step ladder:
A step ladder is of course another essential item you’ll need when carrying out any dry-lining project, whether it’s for walls or ceilings.
Workbench and Trestles:
A workbench is an essential item to ensure an organised workspace. You can use two benches, or trestles and place your plasterboard at a convenient height ready for measuring and cutting.
Mask:
Cutting and working with plasterboard or ceiling tiles can often create gypsum dust and other fibres in the air, so a mask to protect your lungs is always a good idea, and sometimes can be a legal requirement.
Dry Lining Specific Tools
These tools are more specific to dry lining and are essential for working with plasterboard or suspended ceilings.
Stud finder:
A stud finder is an incredibly useful tool and a requirement when fixing heavy items to walls or avoiding drilling into pipework.

Plasterboard Support/Dead man:
A dead man is a support prop designed to hold plasterboard up on a ceiling. You may need a few of these as they save time and labour by not requiring the need to manually hold a board in place.
Snips:
A good pair of snips is required for trimming and cutting studs and other materials used within a partition wall or suspended ceiling frame.
Drywall Plane:
When cutting plasterboard or ceiling tiles you may find it leaves a rough edge to the board. A good drywall plane can then be run along the edge, providing a smooth finish.
Staple Gun:
A staple gun isn’t necessarily essential but can be useful when applying beading and will make the process much faster than using a hammer and nails.
Finishing Tools:
After you’ve completed a plasterboard wall, you then of course have to finish it. This will involve taping and jointing the boards together and filling any imperfections with plaster or filler.
Mixing Tub:
A large, durable and easy-to-clean mixing tub is required for mixing any kind of adhesive or plaster for finishing.
Trowel:
A Trowel is an essential tool for finishing plasterboard. Trowels are useful for jointing adhesives, which can help to hide the fixings you use to fit the boards to the wall studs or ceiling. You might also use trowels to skim the edges of boards and create a smooth, seamless appearance.
Skeleton Gun:
Sealing and joining your boards, as well as adding any decorations, requires the use of a skeleton gun. A good quality gun will help to make sure that your boards are protected from issues like moisture - such as in a kitchen or bathroom. Seals also result in better-insulated rooms.
In Summary
This is a broad overview of the basic tools you will need to complete a dry-lining project. There are of course multiple nuances to this, and a professional dry liner would have a more diverse range of tools to help make the job quicker.
Need Quality Dry Lining Supplies?
-
2 - 3 WORKING DAY DELIVERY
- Hardened & tempered steel
- Holds excessive mortar
- FatMax Retractable Utility Knife (409/006/031)
2 - 3 WORKING DAY DELIVERY
- 5 FatMax blades
- Blade clamp for heavy duty
- GTEC Mastic Gun (900ml Capacity) (200/125/788)
5 - 7 Working Day Delivery
- Dripless operation
- Less refilling


